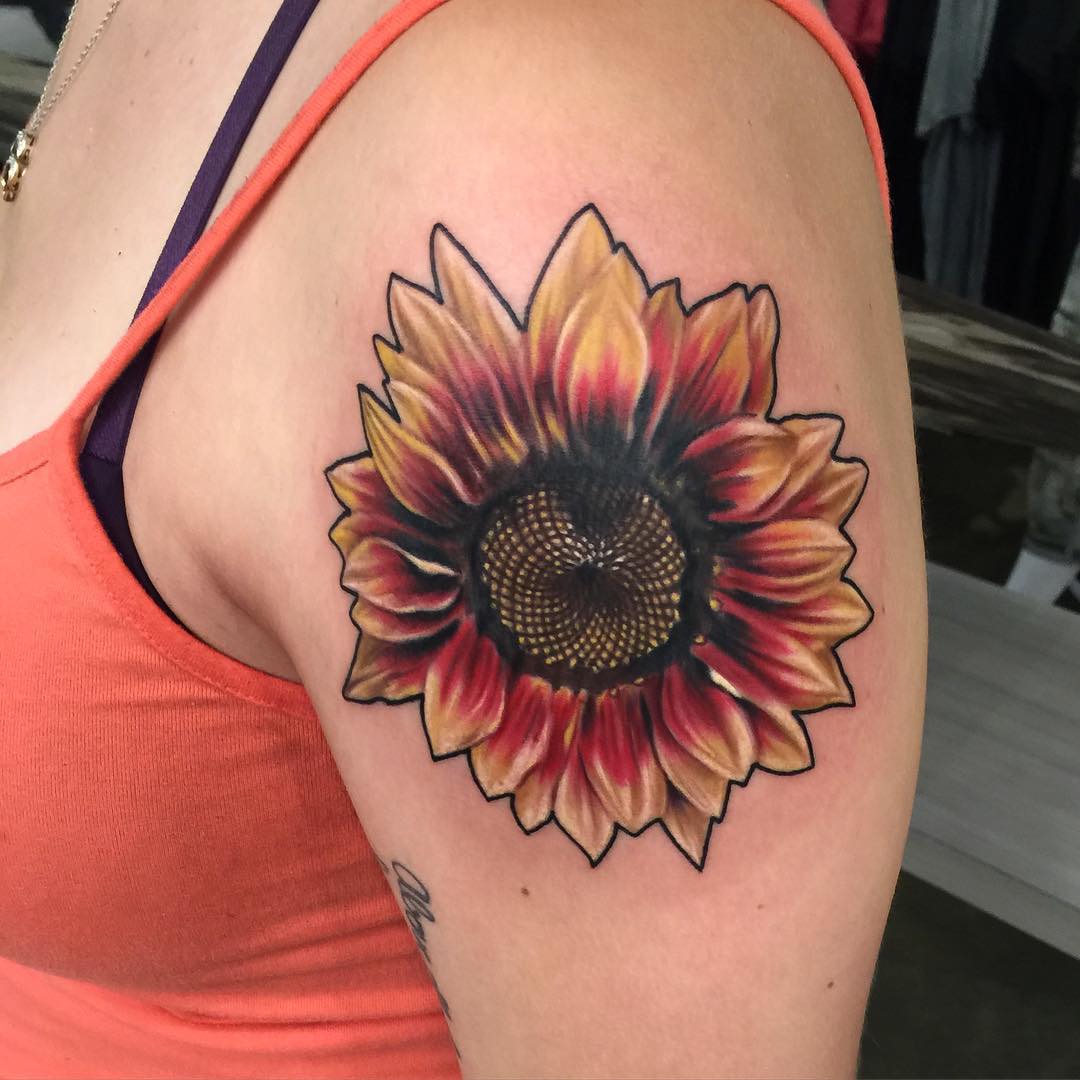
Okay, so you’ve got this killer sunflower tattoo design.
Now what?
You’re probably thinking, "How do I actually get this beautiful thing onto my skin?"
I get it.
That first transfer can be nerve-wracking.
Let’s walk through this.
How Do I Transfer A Sunflower Tattoo Design Onto Skin?
It’s not rocket science, but it does require some attention to detail.
Think of it like baking a cake, only instead of frosting, you’re using ink.
Choosing Your Transfer Method
Alright, there are a few ways to skin this cat…or, you know, transfer this sunflower.
Each has its pros and cons.
Here’s the lowdown:
-
Stencil Paper (Hectograph): This is the most common method pros use.
It involves a special paper, a design, and a transfer cream.
You either hand-draw the design onto the stencil or use a thermal copier.
- Pros: Super precise, long-lasting on the skin.
- Cons: Requires specific materials, can be a bit messy.
-
Freehand: Exactly what it sounds like.
You draw directly onto the skin with a skin-safe marker.
- Pros: Great for custom work, no special equipment needed.
- Cons: Requires artistic skill, less precise.
-
Printer Transfer: You print your design onto transfer paper using a regular inkjet or laser printer.
- Pros: Easy if you have a printer, good for complex designs.
- Cons: Can be less durable than stencil paper, ink can smudge.
My Personal Preference:
I usually stick with stencil paper because I like the accuracy.
Plus, I have a thermal copier, so it’s pretty quick.
But for smaller, simpler designs, freehanding can be a fun way to go.
Step-by-Step: Using Stencil Paper for Your Sunflower
Okay, let’s get into the nitty-gritty of using stencil paper.
-
Prepare Your Skin: This is crucial.
Clean the area with antibacterial soap and shave if necessary.
Dry the area completely.
This prevents infection and ensures the stencil adheres properly.
-
Apply Transfer Cream/Gel: Use a thin, even layer.
Too much, and the stencil will smear.
Too little, and it won’t stick.
Pro Tip: I like using Stencil Stuff. It’s a game-changer.
-
Apply the Stencil: Place the stencil firmly on the skin, design-side down.
Press gently and evenly to avoid air bubbles.
Hold it in place for about 30-60 seconds.
-
Carefully Remove the Stencil: Peel it off slowly and evenly.
If the transfer is patchy or smudged, wipe it off immediately with alcohol and start over.
-
Let It Dry: Give the stencil at least 10-15 minutes to fully dry before you start tattooing.
This helps prevent it from wiping off during the tattooing process.
Freehanding Your Sunflower Design
Feeling artsy?
Here’s how to freehand:
-
Clean and Prep the Skin: Same as above.
Cleanliness is next to godliness, especially with tattoos.
-
Use Skin-Safe Markers: Only use markers specifically designed for skin.
Sharpies are a big no-no.
They can cause infections and are not meant for penetrating the skin.
-
Draw Your Design: Take your time and sketch out your sunflower design lightly.
You can always go over it again to darken the lines.
-
Let It Dry: Allow the ink to dry completely before you start tattooing.
Troubleshooting Common Issues
-
Stencil Not Sticking: Make sure your skin is clean and dry, and you’re using enough transfer cream.
-
Stencil Smudging: You’re probably using too much transfer cream. Less is more!
-
Design Fading During Tattooing: Apply a thin layer of petroleum jelly over the stencil to protect it.
Final Thoughts
Transferring your sunflower tattoo design is a crucial step.
Take your time, be patient, and don’t be afraid to practice.
The more you do it, the better you’ll get.
Remember, a good transfer leads to a great tattoo.
And that’s how you successfully transfer a sunflower tattoo design onto skin.
FAQ: Sunflower Tattoo Transfer Edition
-
Can I use deodorant as a transfer agent?
No! Deodorant contains chemicals that are not safe for tattooing. Stick to proper transfer creams or gels.
-
How long does the stencil last on the skin?
A well-applied stencil can last for several hours, but it’s best to start tattooing as soon as possible after it dries.
-
What if I mess up the stencil?
No worries! Just wipe it off with alcohol and try again. Practice makes perfect.
-
Can I use a regular printer to print stencils?
You can use a regular inkjet or laser printer with transfer paper, but a thermal copier is ideal for creating long-lasting stencils.
-
Is freehanding safe?
Yes, as long as you use skin-safe markers and follow proper hygiene practices.
Leave a Reply