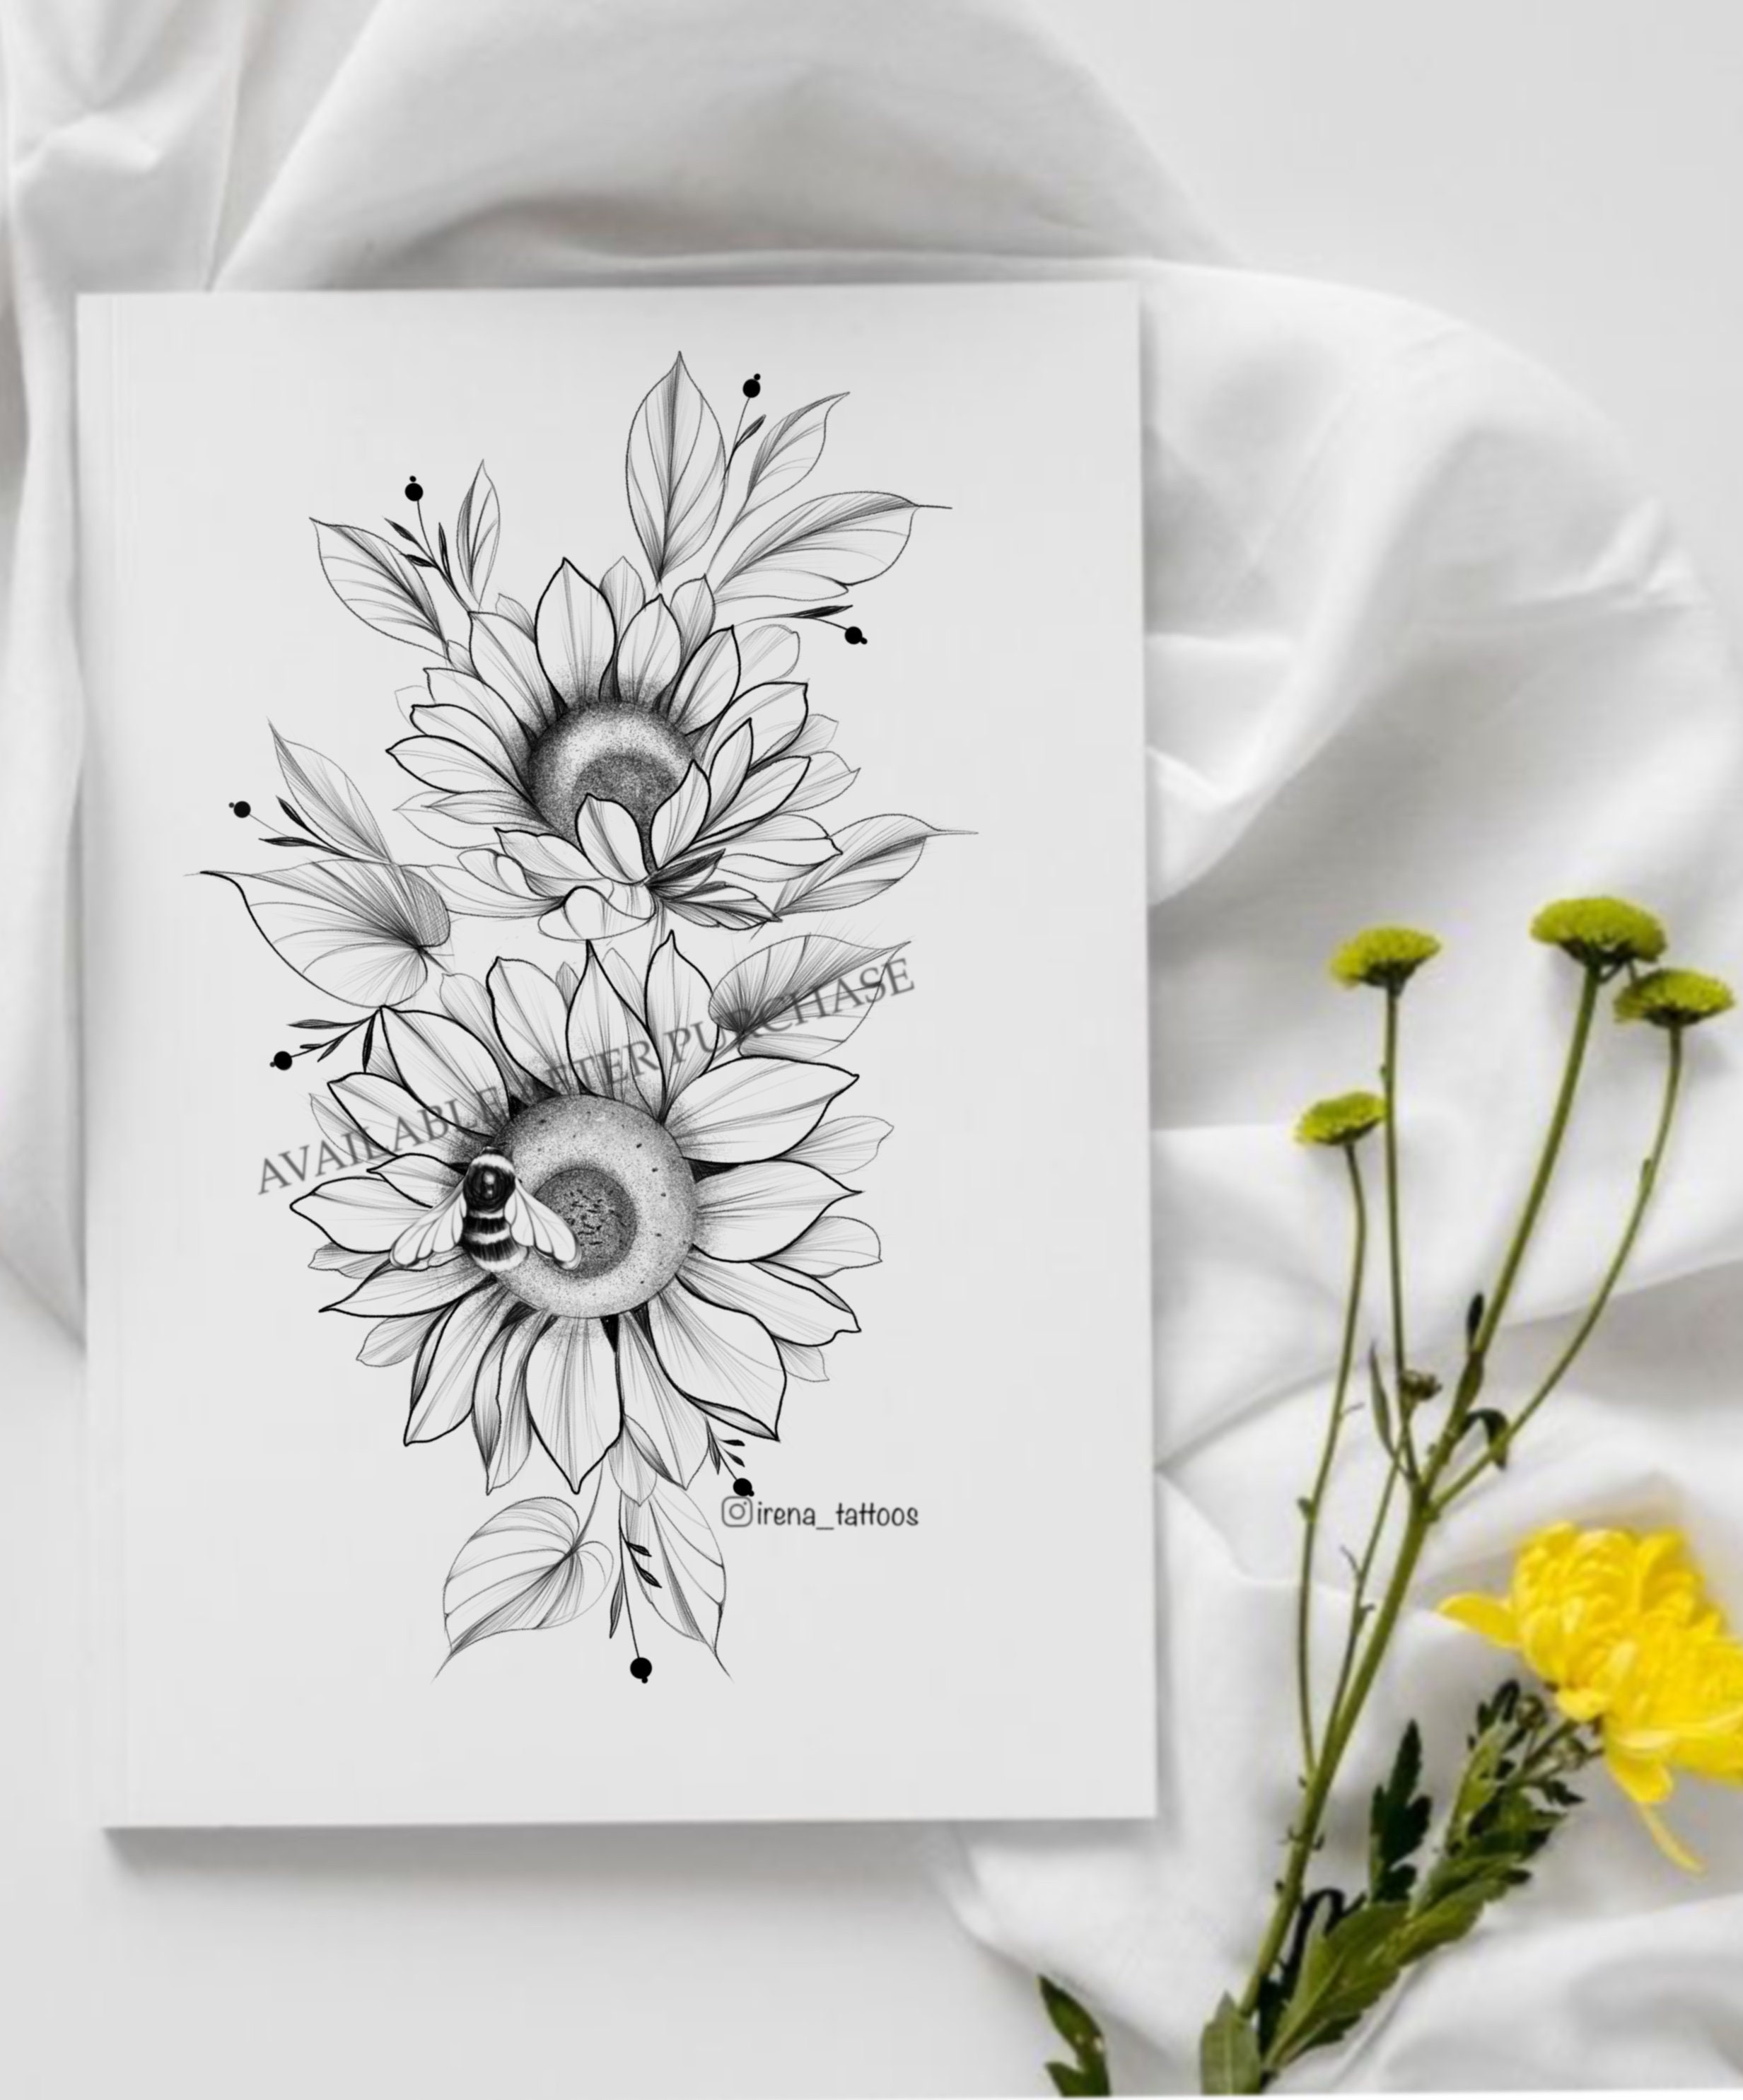
Tag: stencil

  • How Do I Make A Sunflower Tattoo Stencil With Parchment Paper?

    How Do I Make A Sunflower Tattoo Stencil With Parchment Paper?

    How Do I Make A Sunflower Tattoo Stencil With Parchment Paper?

    Okay, so you want a sunflower tattoo, huh?

    Awesome choice!

    But you’re probably thinking, "How do I even get that design onto my skin accurately?"

    And "Is there a cheap and easy way to do this myself?"

    I get it.

    Stencils can seem intimidating, but trust me, it’s easier than you think.

    Let’s ditch the complicated stuff and get right to making a sunflower tattoo stencil with parchment paper.

    Why Parchment Paper for Your Sunflower Tattoo Stencil?

    Parchment paper is your friend for a few reasons.

    • It’s thin enough to transfer your design easily.
    • It’s readily available (probably already in your kitchen!).
    • It’s cheap!

    Think of it like this: it’s the perfect budget-friendly option for testing out your tattoo placement and size before committing.

    I remember my first tattoo stencil attempt.

    I tried using regular printer paper and it was a disaster.

    The design smeared, and it was way too thick to transfer properly.

    Parchment paper saved the day!

    Step-by-Step: Crafting Your Sunflower Tattoo Stencil

    Alright, grab your supplies.

    You’ll need:

    • Parchment paper
    • Your sunflower design (printed or drawn)
    • A pencil (preferably a softer lead like a 2B)
    • Tape
    • Stencil transfer cream (or deodorant – more on that later!)
    • A clean razor

    Let’s break it down:

    1. Prepare Your Design:

      • Find a sunflower design you love.
      • You can print it out, or draw your own.
      • Pro Tip: Keep it relatively simple for your first stencil.
      • Intricate designs are harder to transfer.
    2. Trace the Sunflower:

      • Tape the parchment paper over your design.
      • Use the pencil to carefully trace the outline.
      • Important: Press firmly enough to create a clear outline on the parchment paper.
    3. Prepare the Transfer Area:

      • Clean the area where you want the tattoo with rubbing alcohol.
      • This removes oils and debris, helping the stencil adhere.
    4. Apply Transfer Cream:

      • This is where the magic happens.
      • Apply a thin, even layer of stencil transfer cream (like Stencil Stuff) to the area.
      • Budget Hack: Some people swear by deodorant (the stick kind, not spray!).
      • I’ve tried it, and it works okay in a pinch, but stencil cream is better.
    5. Transfer the Design:

      • Carefully place the parchment paper (pencil-side down) onto the prepared skin.
      • Press firmly and evenly for 30-60 seconds.
      • Don’t move the paper around!
    6. Peel and Reveal:

      • Gently peel back the parchment paper.
      • You should see a clear outline of your sunflower design on your skin.
      • If it’s faint or smudged, you might need to reapply transfer cream and try again.
    7. Clean up and Shave:

      • Use a clean razor to shave the area around the transferred stencil, if necessary.
      • This will give a smooth surface for tattooing.

    Making a Sunflower Tattoo Stencil and Avoiding Common Mistakes

    • Don’t use too much transfer cream: A thin layer is all you need. Too much will cause smudging.
    • Hold the stencil firmly: Movement is the enemy of a clean transfer.
    • Practice makes perfect: Don’t be discouraged if your first attempt isn’t perfect.
    • Try different pressures and transfer times.
    • Placement is key: Before you transfer, double-check the placement of your sunflower.
    • Use a mirror to make sure it looks good from all angles.

    FAQ: Sunflower Tattoo Stencil Edition

    • Can I use regular paper instead of parchment paper?
      • You can, but I wouldn’t recommend it. Regular paper is too thick and absorbent, making it hard to get a clean transfer.
    • What if my stencil smudges?
      • Clean the area with rubbing alcohol and try again.
      • Make sure you’re not using too much transfer cream.
    • How long does the stencil last?
      • A good stencil should last for a few hours.
      • Avoid excessive sweating or rubbing the area.
    • Where can I buy stencil transfer cream?
      • Most tattoo supply shops sell it.
      • You can also find it online.
    • Is it safe to use deodorant as transfer cream?
      • While some people do, it’s not ideal.
      • Stencil transfer cream is specifically designed for this purpose and is generally safer for your skin.
    • How do I get rid of the stencil outline after tattooing?
      • It usually fades away within a few days.
      • You can gently exfoliate the area after it’s healed to help it fade faster.

    Final Thoughts

    Making a sunflower tattoo stencil with parchment paper is a simple and affordable way to prepare for your tattoo.

    Take your time, be patient, and don’t be afraid to experiment.

    With a little practice, you’ll be rocking that sunflower tattoo in no time!

  • Can I Use Eyeliner To Create A Sunflower Tattoo Stencil?

    Can I Use Eyeliner To Create A Sunflower Tattoo Stencil?

    Can I Use Eyeliner To Create A Sunflower Tattoo Stencil?

    Okay, let’s dive in!

    Can I Really Use Eyeliner for a Sunflower Tattoo Stencil? Seriously?

    Ever stared at a gorgeous sunflower tattoo and thought, "I could totally do that… maybe?"

    But then reality hits: how do you even get that design onto your skin accurately before you commit?

    I get it.

    Temporary tattoos are fun.

    But what if you want something a little more precise, a little more… you?

    That’s where the stencil comes in.

    And that’s probably why you’re wondering if you can use something you already have, like, say, eyeliner, to make a sunflower tattoo stencil.

    Let’s break it down.

    Eyeliner as a Tattoo Stencil: The Good, the Bad, and the Smudgy

    Okay, so can you technically use eyeliner?

    Yeah, sure, you can.

    But should you?

    That’s the real question.

    Think of it like this: you can eat cereal with a fork, but a spoon is just… easier, right?

    Here’s the lowdown:

    • The Good:
      • Accessibility: You probably already have eyeliner.
      • Precision (Maybe): If you’re a whiz with eyeliner, you might get a decent outline.
    • The Bad:
      • Smudging: Eyeliner is designed to be blendable. That’s the opposite of what you want for a stencil.
      • Sanitation: Eyeliner pencils and liquid liners can harbor bacteria. Introducing that to broken skin? Big no-no.
      • Inaccuracy: Unless you’re a tattoo artist disguised as a makeup guru, getting a perfectly symmetrical sunflower with eyeliner alone is a tall order.

    A Better Way to Create Your Sunflower Tattoo Stencil

    Listen, I’m all about DIY.

    But when it comes to tattoos, it’s best to err on the side of caution and precision.

    Here are some better ways to create a sunflower tattoo stencil that won’t leave you with a blurry, infected mess:

    • Stencil Paper: This is what tattoo artists use. It’s specifically designed to transfer designs cleanly and safely. You can find it online or at tattoo supply shops.
    • Freehand with Skin Markers: If you’re feeling brave (and have artistic skills!), use skin-safe markers to draw directly onto your skin. Make sure they’re designed for this purpose!
    • Temporary Tattoo Paper: Print your sunflower design onto temporary tattoo paper. It’s like those temporary tattoos you got as a kid, but customizable.
    • Professional Stencil Creation: Many artists will create a stencil for you if you’re getting a tattoo done by them. It’s often included in the overall cost.

    Step-by-Step: Making a Stencil (The Right Way)

    Let’s say you’re using stencil paper – here’s how to do it:

    1. Choose Your Design: Find a sunflower image you love. Print it out in the size you want your tattoo to be.
    2. Prepare Your Skin: Clean the area where you want the tattoo with rubbing alcohol. Shave if necessary.
    3. Transfer the Design: Place the stencil paper over the printed design. Trace the design firmly, pressing down to transfer the ink onto the stencil paper.
    4. Apply the Stencil: Peel off the backing of the stencil paper and carefully apply the stencil to your skin. Press firmly to ensure it adheres properly.
    5. Let it Dry: Allow the stencil to dry completely before you start tattooing. This will help prevent smudging.

    Important Note: This is a simplified guide. Tattooing is a serious process, and it’s best left to the professionals. This is for temporary tattoos, or practice skin.

    Real Talk: Why Sanitation Matters

    Seriously, guys, don’t skimp on sanitation.

    Infections are no joke.

    Using unsanitized tools or materials can lead to serious health problems.

    Always sterilize your equipment and use clean, disposable supplies.

    Can I Use Eyeliner To Create A Sunflower Tattoo Stencil? FAQs

    • Q: Can I use gel eyeliner instead of pencil eyeliner?
      • A: Gel eyeliner is even more likely to smudge than pencil eyeliner. It’s a definite no.
    • Q: What kind of skin markers are safe to use?
      • A: Look for markers specifically labeled as "skin-safe" or "tattoo markers." Sharpies are not skin-safe.
    • Q: Can I use deodorant to help the stencil stick?
      • A: Some people swear by this, but it’s not ideal. Tattoo stencil solutions are designed for this purpose and are generally more effective and sanitary.
    • Q: Is it okay to practice tattooing on fruit or fake skin first?
      • A: Absolutely! Practicing on fruit (like grapefruit) or fake skin is a great way to hone your skills before tattooing yourself or others.

    Final Thoughts: Eyeliner and Sunflower Tattoos – Proceed with Caution

    So, while you can technically use eyeliner as a sunflower tattoo stencil, I wouldn’t recommend it.

    There are safer, more accurate, and more sanitary ways to achieve the same result.

    Remember, tattoos are forever (or at least a really long time).

    Take the time to do it right.

    At the end of the day, you want to make sure that you are using the proper equipment. So, can I use eyeliner to create a sunflower tattoo stencil? Not really.

  • How Do I Make A Custom Sunflower Tattoo Stencil?

    How Do I Make A Custom Sunflower Tattoo Stencil?

    How Do I Make A Custom Sunflower Tattoo Stencil?

    Okay, so you want a sunflower tattoo, huh?

    But you’re not just grabbing some flash off the wall.

    You want your sunflower.

    Something unique.

    Something that screams you.

    And that starts with making your own custom sunflower tattoo stencil.

    But where do you even begin?

    Maybe you’re thinking:

    • "I can’t draw!"
    • "Stencils seem so complicated."
    • "What if I mess it up?"

    Don’t sweat it.

    I’ve been there.

    We’re gonna break this down.

    It’s way easier than you think.

    Designing Your Dream Sunflower: It All Starts Here

    First, let’s ditch the idea that you need to be Picasso.

    You don’t.

    This is about your vision.

    Think about what you want your sunflower to represent.

    Is it bold and vibrant?

    Delicate and detailed?

    Maybe a little bit abstract?

    I remember when my cousin, Sarah, wanted a sunflower tattoo to represent her grandma.

    She wanted it to be a little faded, almost vintage looking.

    It wasn’t about perfection; it was about the memory.

    Here’s how to brainstorm your design:

    • Gather Inspiration: Look at photos of real sunflowers, illustrations, and other sunflower tattoos. Pinterest is your friend!
    • Sketch It Out (Roughly!): Don’t worry about perfect lines. Just get your ideas on paper. Experiment with different petal shapes, sizes, and arrangements.
    • Consider Placement: Where is this tattoo going? A small sunflower on your wrist will need a different design than a large one on your back.

    From Sketch to Stencil: Making It Real

    Okay, you’ve got a sketch (or a few!).

    Now, let’s turn that into a stencil.

    There are a few ways to do this.

    The Hand-Drawn Method (Old School Cool):

    • Trace Your Design: Place tracing paper over your sketch and carefully trace the outline. Pay attention to the key lines – the ones that define the shape and details.
    • Transfer to Stencil Paper: Place the tracing paper over your stencil paper (thermal paper is the most common) and trace again, pressing firmly. This will transfer the design to the stencil paper.
    • Fill in Solid Areas: If your design has solid black areas, carefully fill them in with a fine-tipped marker or stencil pen.

    The Digital Method (Tech Savvy):

    • Scan Your Sketch: Scan your sketch into your computer.
    • Use a Design Program: Open the scan in a program like Procreate, Adobe Photoshop, or even a free online editor.
    • Clean Up the Lines: Use the program’s tools to refine the lines, adjust the size, and add any details.
    • Print It Out: Print the design onto thermal stencil paper using a thermal printer. (This is the most common and reliable method).

    Important Tip: No matter which method you choose, keep it simple.

    A stencil is just a guide.

    It doesn’t need to be perfect.

    The tattoo artist will add their own flair and artistry.

    Pro Tips for a Killer Sunflower Tattoo Stencil

    • Think in Layers: Consider how the tattoo will look with shading and depth. Simplify your stencil to represent the basic outlines and key details.
    • Negative Space is Your Friend: Use negative space to create interesting shapes and visual interest.
    • Don’t Overcomplicate It: Too many tiny details will be difficult to tattoo and may not hold up well over time.
    • Test It Out: Before you commit, print out a test stencil on regular paper and place it on your skin to see how it looks.

    Common Mistakes to Avoid

    • Too Much Detail: Remember, less is more.
    • Lines Too Close Together: These can blur together over time.
    • Ignoring Placement: Make sure the stencil fits well in the desired location and flows with the body’s contours.
    • Skipping the Test Run: Always, always test your stencil before going to the tattoo artist.

    Working With Your Tattoo Artist

    Your tattoo artist is your partner in this.

    Don’t be afraid to ask for their input.

    They can offer valuable advice on stencil design and placement.

    Bring your sketches, inspiration photos, and the final stencil to your appointment.

    Be open to their suggestions.

    They’re the experts!

    I remember one time, I had a stencil that I thought was perfect.

    My artist pointed out that some of the lines were too thin and would likely fade over time.

    He helped me adjust the design, and the final tattoo looked amazing.

    FAQ: Sunflower Tattoo Stencil Edition

    • What kind of paper should I use for my stencil? Thermal stencil paper is the industry standard. It’s designed to work with thermal printers and transfer the design cleanly to the skin.
    • Can I use regular paper for my stencil? No, regular paper won’t work. It’s not designed to transfer the design properly.
    • Where can I buy stencil paper? You can find stencil paper at tattoo supply stores or online retailers.
    • How do I transfer the stencil to my skin? Your tattoo artist will use a stencil transfer solution (also called "stencil stuff") to apply the stencil to your skin.
    • Can I reuse a stencil? No, stencils are typically single-use items.

    So there you have it.

    Creating your own custom sunflower tattoo stencil is totally achievable.

    It just takes a little planning, some creativity, and a willingness to experiment.

    Now go out there and design the sunflower of your dreams!

  • How Do I Make A Sunflower Tattoo Stencil With Parchment Paper?

    What Are The Best Sunflower Tattoo Stencil Kits?

    How Do I Make A Sunflower Tattoo Stencil With Parchment Paper?

    Alright, let’s dive into the sunny world of sunflower tattoos!

    Thinking about getting inked with a sunflower?

    Awesome!

    But where do you even start, especially if you’re thinking DIY with a stencil?

    I get it.

    You want that perfect sunflower tattoo, but you’re probably asking yourself:

    • Are stencil kits worth it, or just a waste of money?
    • Which ones are actually good, and won’t leave you with a blurry mess?
    • How do I even use a stencil kit properly?

    Let’s break it down and find you the best sunflower tattoo stencil kits that’ll help you bring your vision to life.

    Why Even Bother With a Sunflower Tattoo Stencil Kit?

    Okay, first things first.

    Why not just freehand it?

    Well, unless you’re a pro artist, stencils are your friend.

    They give you:

    • Precision: Getting those delicate sunflower petals just right.
    • Consistency: Ensuring your design looks exactly how you imagined.
    • Confidence: Especially if you’re new to tattooing.

    I remember my first tattoo attempt on a friend (don’t worry, it was temporary ink!).

    The stencil saved me from complete disaster!

    What to Look For in a Great Sunflower Tattoo Stencil Kit

    Not all kits are created equal.

    Here’s what to keep in mind:

    • Stencil Material:
      • Mylar: Durable, reusable, and easy to clean. This is the gold standard.
      • Vinyl: Good for one-time use, but less precise and can tear easily.
      • Adhesive Stencils: Stick directly to the skin, great for intricate designs but can be tricky to remove.
    • Design Variety: Does the kit offer different sunflower styles? Big, small, realistic, abstract?
    • Stencil Size: Make sure the sizes are suitable for where you want the tattoo.
    • Ease of Use: Are the stencils easy to apply and remove? Read reviews!
    • Price: Don’t just go for the cheapest option. Quality matters!

    My Top Picks for Sunflower Tattoo Stencil Kits (Based on Real Experience!)

    Alright, time for the good stuff.

    While I can’t endorse specific brands without testing them all myself (and my skin can only handle so many temporary sunflower tattoos!), I can give you some general types to look for based on what I’ve seen and heard from other artists and enthusiasts:

    1. Mylar Sunflower Stencil Sets: Look for sets with varying sizes and styles. Etsy is a great place to find these from independent artists.
    2. Adhesive Sunflower Stencils for Henna/Temporary Tattoos: These are great for practicing before committing to permanent ink. Amazon and specialized henna supply stores are good places to check.
    3. Custom Stencil Services: If you have a specific sunflower design in mind, consider getting a custom stencil made. Many online services offer this.

    How to Use a Sunflower Tattoo Stencil Like a Pro

    Okay, you’ve got your kit. Now what?

    Here’s a step-by-step guide:

    1. Prep Your Skin: Clean and shave the area where you’ll be tattooing.
    2. Apply the Stencil: Carefully position the stencil and secure it with stencil adhesive (if it’s not already adhesive).
    3. Trace the Design: Use a skin-safe marker to trace the outline of the stencil.
    4. Remove the Stencil: Gently peel off the stencil, being careful not to smudge the tracing.
    5. Get Inking! Follow proper tattooing procedures.

    Important Tip: Practice on fruit (like oranges or grapefruits) before tattooing yourself or someone else.

    Avoiding Common Stencil Mistakes

    • Don’t rush: Take your time applying the stencil.
    • Use the right adhesive: If needed, use a stencil adhesive specifically designed for skin.
    • Clean your skin thoroughly: Oil and dirt can prevent the stencil from sticking properly.
    • Don’t over-trace: A light tracing is all you need.

    FAQ: Sunflower Tattoo Stencil Edition

    • Are sunflower tattoo stencil kits reusable? Mylar stencils are, vinyl ones generally aren’t.
    • Can I use a regular marker to trace the stencil? NO! Use a skin-safe marker specifically designed for tattooing.
    • Where can I find unique sunflower designs for stencils? Pinterest, tattoo design websites, and even nature photography can be great sources of inspiration.
    • How do I clean a mylar stencil? Use soap and water or rubbing alcohol.
    • Are temporary tattoo stencils safe? As long as they are designed for skin use and you aren’t allergic to the adhesive. Always do a patch test.

    So, there you have it!

    Everything you need to know to find the best sunflower tattoo stencil kits and create a beautiful, lasting piece of art. Good luck, and happy inking!